Recent Projects - Ceramic Install
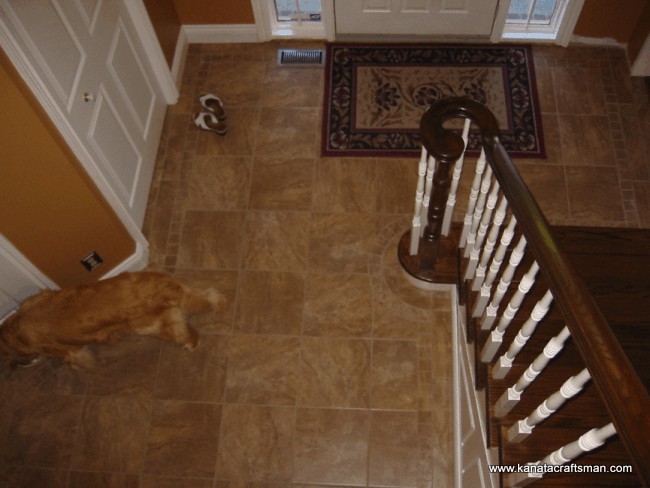
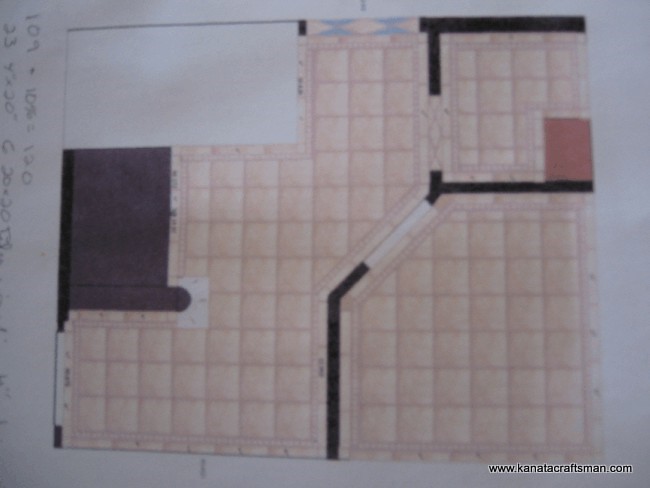
For this ceramic job, the tiles in the laundry room, powder room, and entrance were all the same and the homeowner wanted it replaced. When asking for clarification, we were told they didn’t want a plain ceramic install and wanted something you do not see in a lot of homes. We decided it was best to present our creativity first as there was a lot of room for interpretation. Here’s what we said we would do.
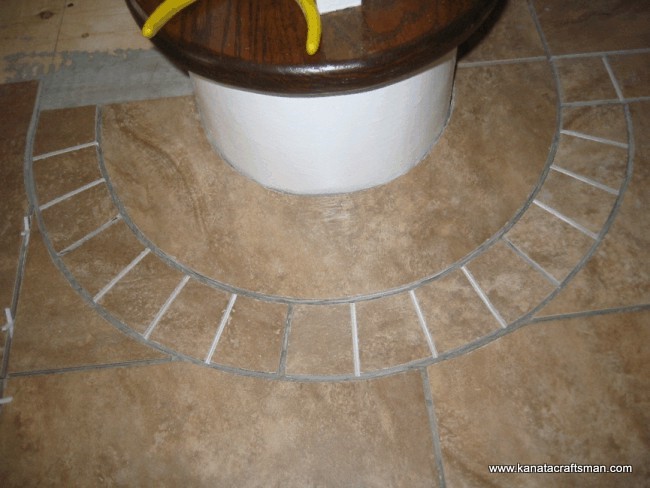
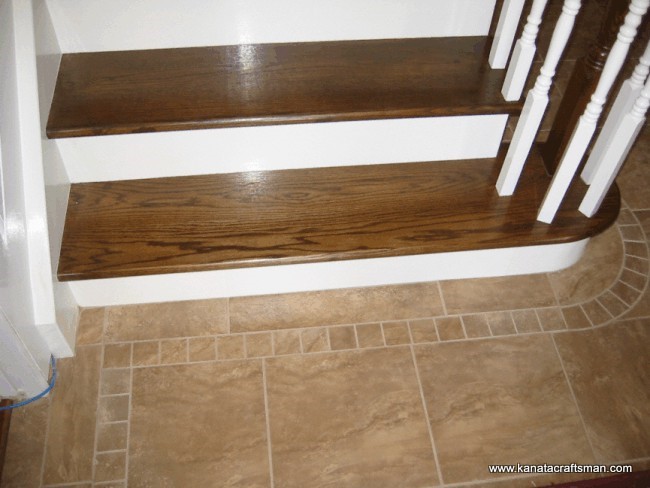
This was definitely the most challenging part of this ceramic install with the custom pieces to fit around this staircase. Note that the mosaic pattern has three lines that are whiter and then a gray line prior to grouting. The white lines represent a score which was cut into the tile but it doesn’t go completely through the tile. We were using 1/8 spacing for this floor and when we put two blades in the saw, we were able to accomplish this pattern by setting the depth of the cut so it wouldn’t cut entirely through the tile. Mosaic was not available in this tile so all our mosaic border tiles were made in this fashion. While it looks like mosaic, it is 2” strips of 20” tiles. Mosaic is never perfectly straight but doing it this way ensures that it is.
The score is deep enough for grout and you’ll never see the difference when the floor is grouted. A cardboard template was used to make the half round and I’d love to tell you we got this right on the first attempt but the weight of the center cut out broke as we had out cut about 98% complete.
We have cut custom tiles for customers in our shop while they wait. If you make a template, we can make the difficult cuts for you while you wait if you’re not equipped to do this.
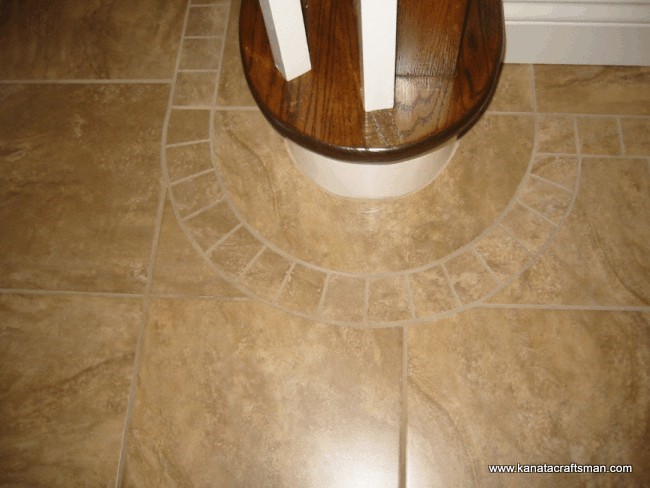
You would never know those were not individual pieces after the ceramic floor was grouted.
The ceramic tile tied in nicely with the oak staircase. The grout failed after about a month along the edge where the tile meets the bottom riser. While all other risers are glued to your treads, the bottom one sits on the plywood floor and the ľ” plywood riser had a little play in it across this span which caused our grout to fail.
When we do a ceramic tile job, we don’t use about 10% of the grout and recommend that it be stored somewhere which makes grout matching a lot easier if a tile is damaged and has to be replaced. It’s a good practice to follow if you are doing your own ceramic. In this case, we reinforced the bottom stringer and we had our grout so we were good to go.
Grout a few years old can be difficult to match if you didn’t save a little. The grout is never exactly the same color as that little color patch on the box. A good trick I use when trying to match grout color is to remove a little bit of the grout from the floor and take it with you when you purchase your grout. Pick up a small container of the pre-mixed grout and look around the edges where the cover seals the container. You may have to examine several containers but you will often see a small amount of dried grout here from a sloppy pour or a little that oozed out from overfill. That will be the exact color of the grout product when it is dry.
If this isn’t possible to find, then trial and error is best by putting a little grout on a board and let it dry to see if it will match your grout color.
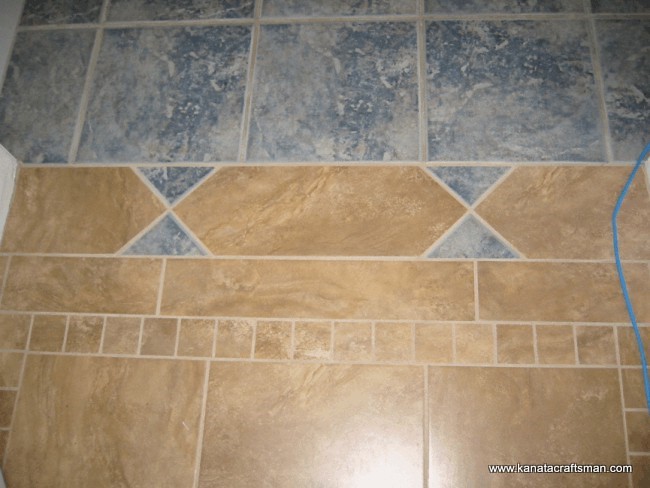
The homeowner had some of the tile left over from the ceramic in the kitchen so we were able to create a nice transition between the entranceway and the kitchen.
Square corner pieces for the border are more esthetically appealing for corners than butting two border corner pieces together.
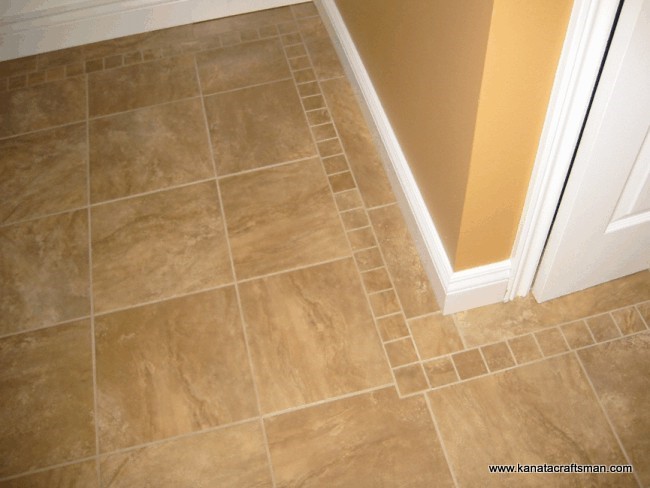
Elbows should be cut for any other angles that are not 90 degrees if you are going to attempt a pattern like this.
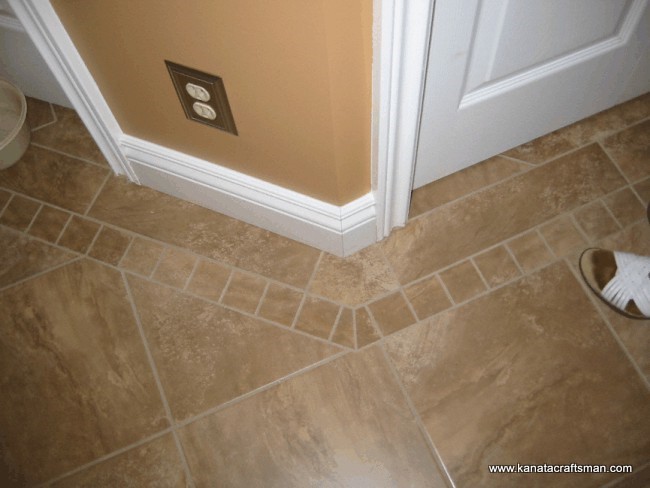
And our ceramic floor renovation is complete. Before we started this job, we discussed the possibility of using a different color tile for the mosaic tiles. However, this is ok for large rooms but would make this entranceway look smaller. Our recommendation was to use the same color throughout so the perception of the size of the entranceway was not compromised.
I’m not sure if hiding the shedding hair from the Golden Retriever was a consideration in ceramic tile color choice.